
MacBook M1, M2, M3 instructions are below. Not sure which chip you have? Ask in Discord and we can help you check.
Step 1: Install software to run virtual machines
Apple Silicon has a different CPU architecture, so it needs different virtualization software to actually use your Mac’s hardware. We use UTM (Universal Turing Machine). It’s on the App Store, but that copy costs money — the link below gets you the same app for free, unless you’d like to support the developers directly.
Link: mac.getutm.app
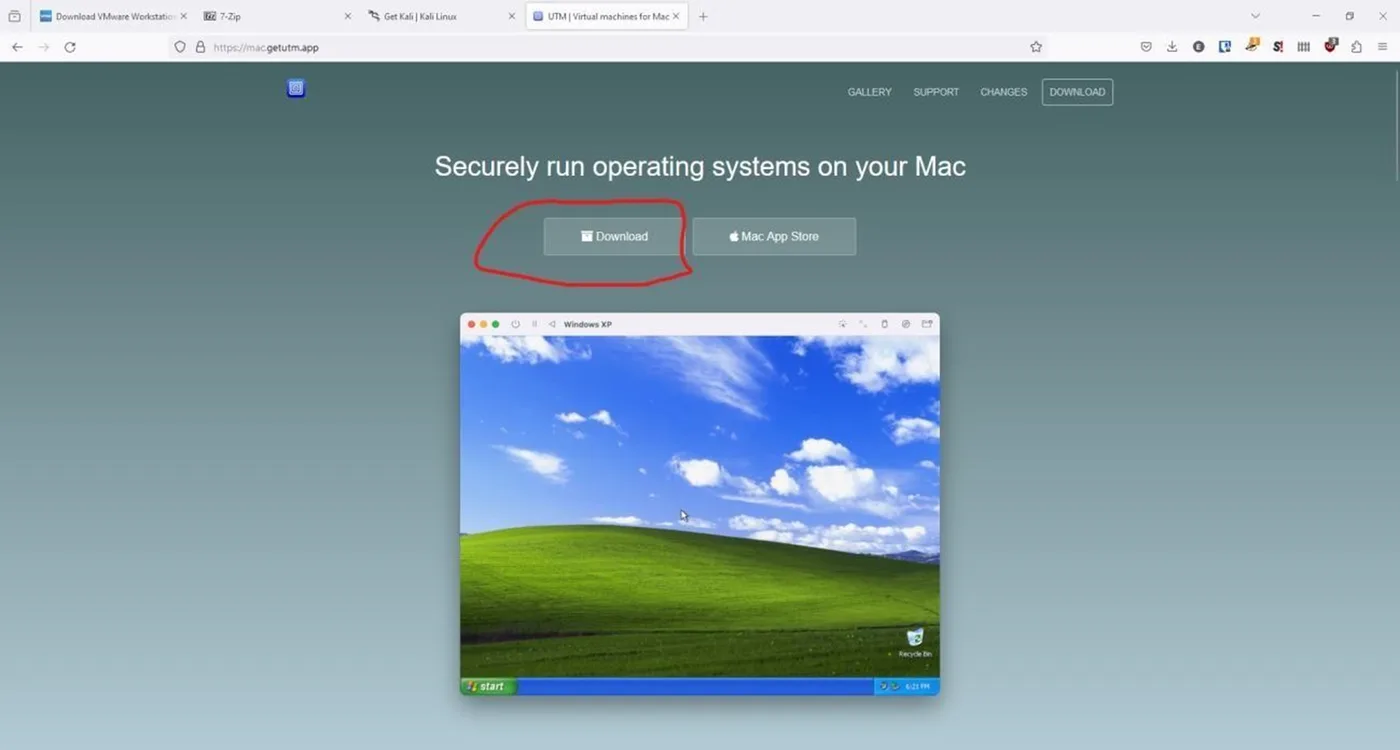
Click the download link circled on their site, then install it like any other Mac app.
Step 2: Install Kali Linux
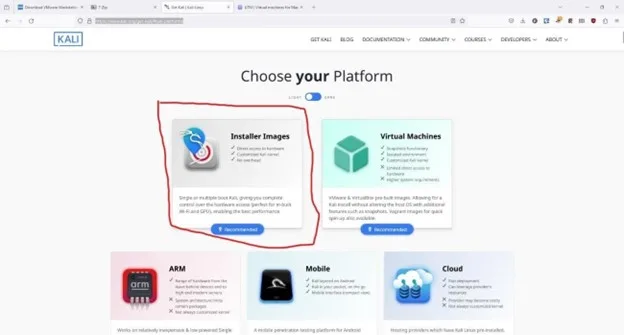
This is also a bit different from Windows, since you need the version of Kali built for Apple’s M-series chips. Go to the same Kali site and click the “Installer Images” icon, circled below:
Link: kali.org/get-kali/#kali-platforms
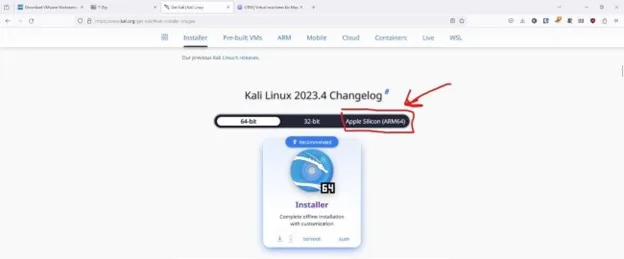
From there, select “Apple Silicon (ARM64)” to get the Mac-compatible build:
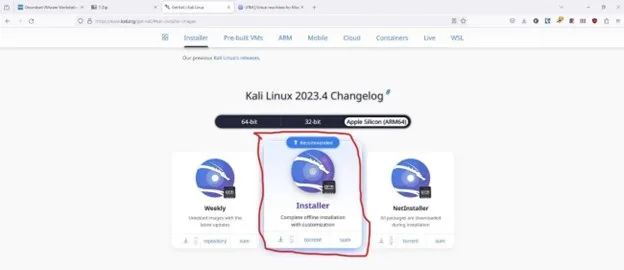
Then click “Installer” to download Kali — around 3GB, so it’ll take a bit.
Once it’s installed, you’re good to go! Questions any time — ask in Discord.
UTM setup quirk: When creating the VM in UTM, add an extra serial device — without it, the main window blacks out during setup. Once setup finishes, delete the extra serial device.